Waldorf Dolls – A Labor of Love
For some reason, I got a bee in my bonnet about making the kids Waldorf Dolls. Since there’s nothing in the world that I hate more than bees, I had to get that thing out of my bonnet. Therefore, I proceeded with all haste to acquire supplies for these incredibly intimidating things and get to work. Of course, with Valentine’s Day only a couple of weeks away from my original urge to create, I put into place a completely unnecessary and extreme timeline for getting them done. Plus, I hate having projects hanging over my head (or buzzing near my ears) so Valentine gifts were as good a motivator as anything.
Having no idea where to begin, I turned to the internets. Via Pinterest (pin 1, 2, & 3), I determined that I could make this happen. But, then, thanks again to the internet, I found that it’s absolutely impossible to buy products in stores anymore. I did manage to find a source for wool bat (bizzaro sheets of carded wool that I’d never heard of before) locally, but had to order a kit for the other stuff from a Waldorf doll supply store online. That was ok, though, because I traced the sewn doll body I received and now I have a pattern!
Anyway, the hardest part about making these dolls is the head. So, after dinner on the day my stuff arrived, I got started. I followed a couple of great tutorials online, so the internet and I became friends again in spite of the way it had demolished craft supply stores.
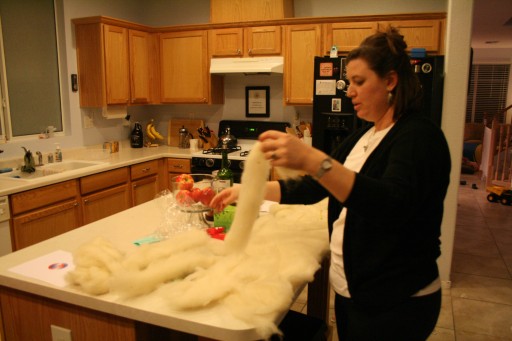
Once you’re done rolling and stuffing and stitching, the head looks something like this.
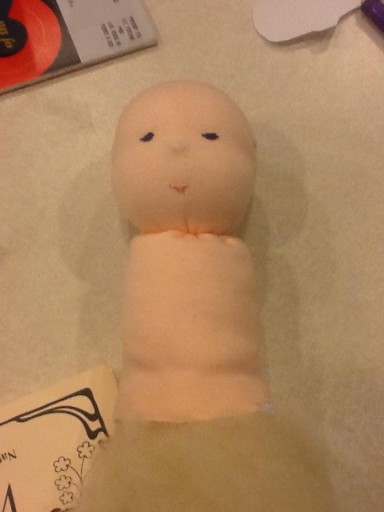
Since I had purchased pre-sewn bodies, all of the sewing I did on these dolls was by hand. So, after some more stuffing and stitching, I ended up with a nakey, bald Waldorf baby looking like this:
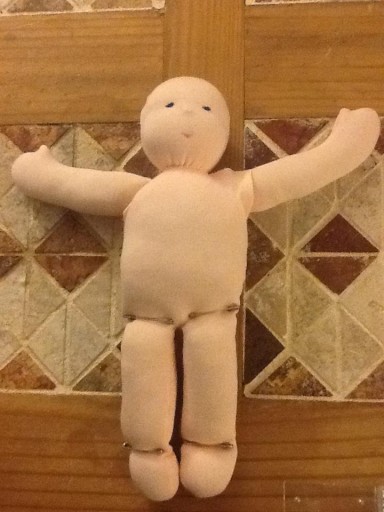
Of course, that’s when the Facebook comments about voodoo dolls started rolling in. Not one to be deterred, I moved on to the next most intimidating part of this project, the hair! I found a couple of great tutorials online and used two different ones – one for the boy’s hair and one for the girl’s. Without a doubt, the tutorial for the boy’s hair was better and it’s the one I’ll use if I ever make another doll (even if it did take me four hours to complete). Noah’s doll’s hair is about fifteen kinds of awesome whereas Ava’s often suffers from a “balding baby” look. Noah’s doll turned out better overall, but I spent longer on it and was more careful since I did it first. I also ended up having to make the dolls’ clothes because I couldn’t find any simple clothing for dolls this size to buy. So, the dolls and kids all got new pajama pants to wear, which was a fun exercise anyway (Noah got three new pairs!). I still need some practice and they’re not perfect, but these were fun to make.
![IMG_0176[1]](http://mscaspers.net/ohbladi/wp-content/uploads/2012/03/IMG_01761-e1331234054981-512x384.jpg)
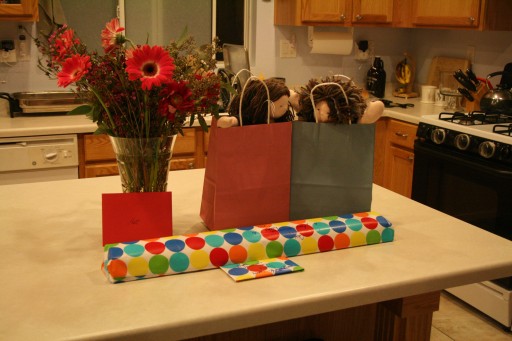
10 days after I started working on them, it was time for these little friends to be gifted to their new owners!
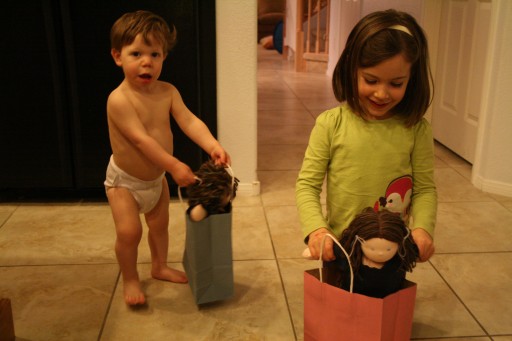
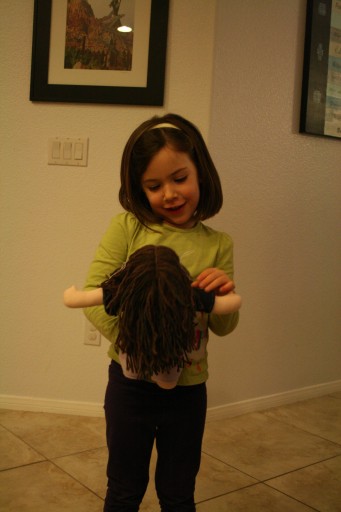
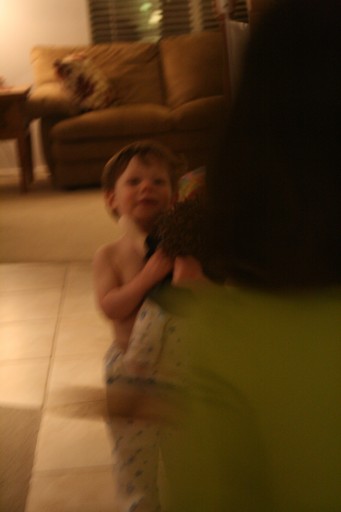
Big sister got in the way and it’s blurry, but that’s the sweetest baby boy hug ever for his new buddy.
And, here they are all dressed to match!
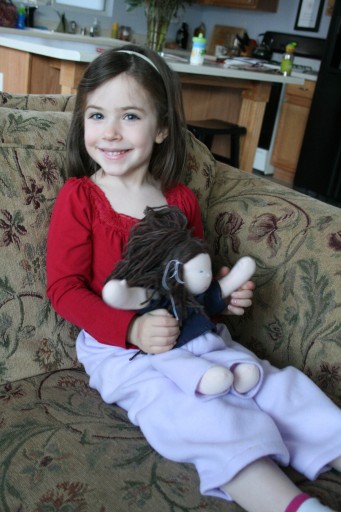
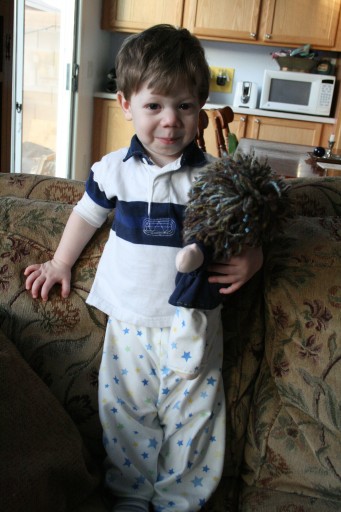
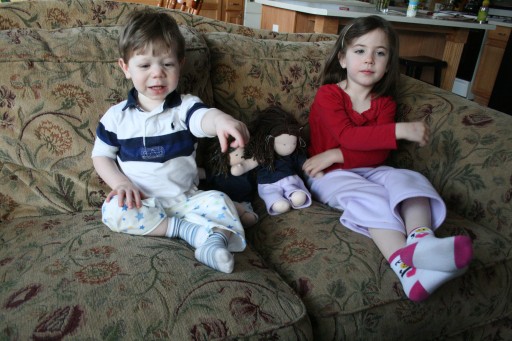
Neither doll has a name really (Ava calls hers “Ava” and Noah calls his “Baby”) but both get lots of love. Noah’s baby comes in the van every day to school and Ava sleeps with hers every night.
I’m so glad I got to make them something to love and pick up some new skills in the process. These dolls are proof that you don’t have to be perfect to be well-loved!
Crafty Goodness
I enjoy having Fridays off from work because I have one day at home to get chores done and, if I’m quick about the chores, I can tackle some crafty projects too. I had seen some projects around the interweb that I thought would be fun for the kids rooms so, on a Friday a few weeks ago, I grabbed the supplies on our grocery run and got to work during nap time.
First up was a starburst mirror for above Ava’s dresser. The tutorial was from The Nesting Place and made the project super simple. I bought a set of three round mirrors at Wal-Mart and painted the smallest in the same blue as some of the other stuff in Whoozer’s room. With leftover scrapbook paper, this was cheap and easy. Plus, no big worries if it didn’t work out!
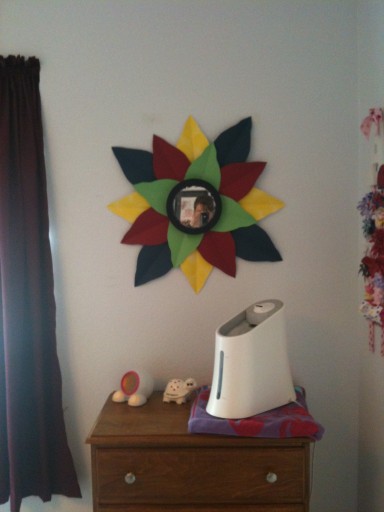 Gotta love a grainy iPhone photo, right?
Once I got the mirror done, I moved on to mobiles for above the kiddos’ beds. I’d seen some on Etsy, but knew that I could totally make them myself. With some thick guage wire and a stash of beads and ribbon, I was on my way.
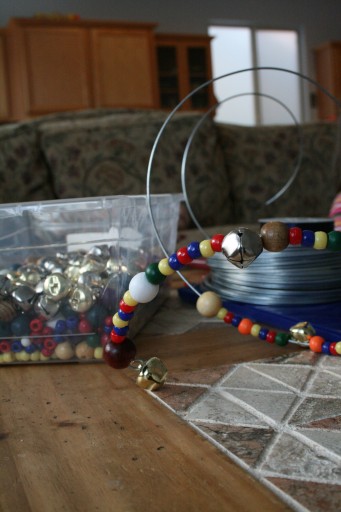
I added jingle bells to the mobiles so when you shake them they make a really sweet jingle sound. I’m really happy with how these turned out.
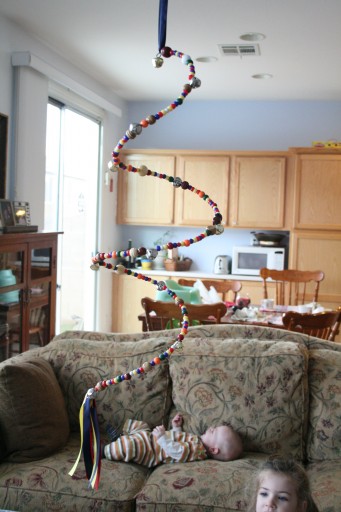
Noah’s mobile
Unfortunately, I haven’t had time to snap a photo of the mobiles in the kiddos’ rooms, but maybe I’ll add them if I get around to it.
Hooray for Fridays and hooray for simple (cheap!) crafts!
Scrub-A-Dub
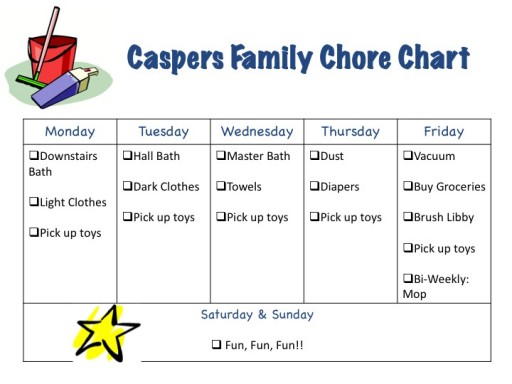
In an effort to streamline our chores at home and get us ready for the impending new-baby time crunch, I’ve put us on a new cleaning and laundry regimen to break up the tasks over the course of the week. We’ve been on the new plan for about three weeks and I have to admit that I love it. I don’t have to spend a whole day in the week cleaning house and weekends are left free for fun family time instead of chores.
This is the plan we’ve been following…
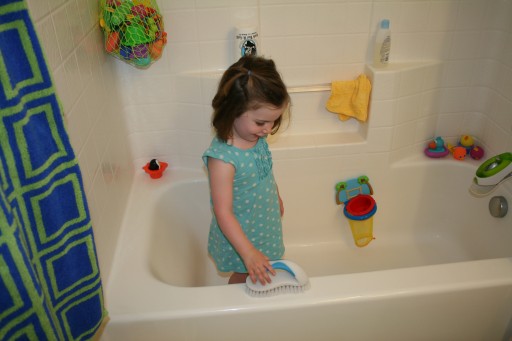
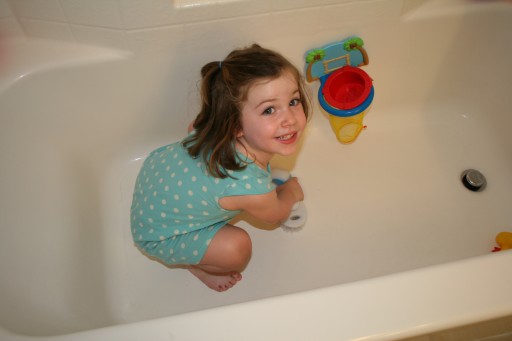
Another perk of this little program is that none of the tasks take longer than 15 minutes, which is the perfect amount of time for including Ava in the work of the home. As I scrub the sinks and wash the mirrors, she climbs in the bathtubs and scrubs the floors. (This is doubly great since I really can’t get that task done right now thanks to Doozy’s size.)
We’re enjoying the benefits and calm of a clean house and Ava’s learning to contribute. In fact, she asks to help with a chore each day when we get home and is agreeable to picking up her toys every night since she gets to check it off on the chart. I’m hopeful that this plan continues to work for us as we settle into our “new normal” after Doozy’s arrival!
Making Space
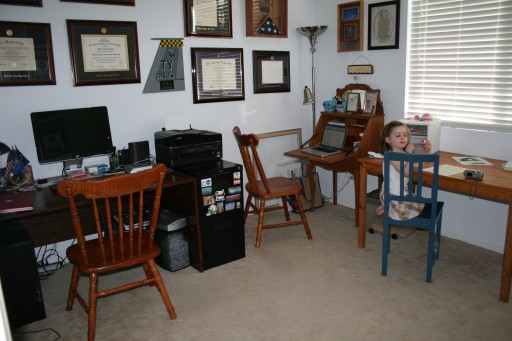
We’re lucky enough to have a whole room for office space in this house and, believe me, we’ve filled it and it’s a busy room. It’s actually a bedroom, so it’s a nice size and has a closet for stashing all the stuff we don’t really want out for public viewing. Until this weekend, though, that room was just for Matt and I. Ava really had nothing in there to occupy her and, for the most part, we spent every second we were all in there together telling her to stop touching stuff – not really fun or productive for anyone.
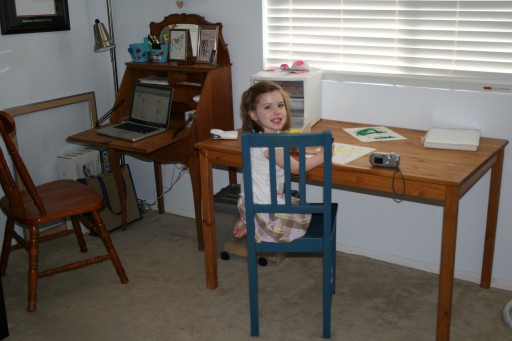
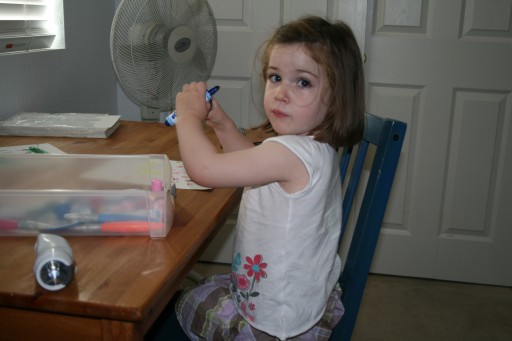
Last weekend, in a stroke of what I’ll just admit was pure genius (ha!), I decided that it was time that Ava had her own workstation in the office. She needed a place to color or stamp, where she could reach some of her own art materials – in other words, something to do so that we could get stuff done too. We have a beautiful secretary desk that was sitting upstairs in the hallway serving no function except to look pretty, so it became my desk – plenty big enough for the laptop and full of little cubbies & drawers to stash my stuff. My old pine table became Ava’s workstation and she now has access to markers, crayons and coloring pages whenever she wants them. All in all, it’s working out great!
I love that we’ve made space for our girl in a room that used to be so off limits. And now, rather than nagging her to leave stuff alone, I get to look over from my desk and see something that’s a lot more happy.
Daddy’s Little Helper
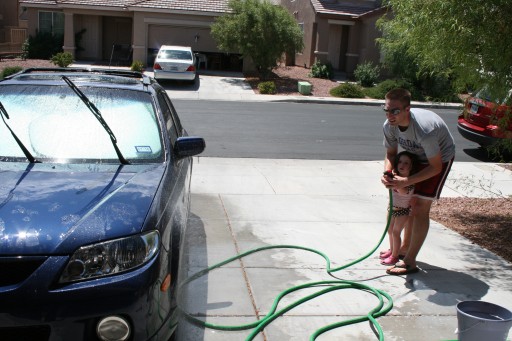
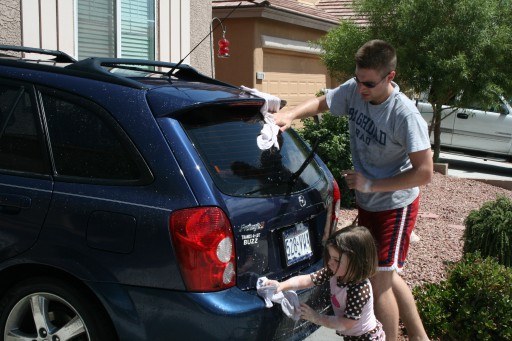
Ava’s going through a wonderful toddler stage in which she really likes to help out around here. She’s been helping with our daily chores (dusting, scrubbing bathrooms, etc) but she was super-excited to put on her swimsuit and help Matt wash the car a couple of weeks ago. Given that it was well over 100 degrees when they tackled this task, it was a good thing there was water involved.
Here’s hoping that this helping phase last through the first few weeks of Doozy’s arrival at the house!
