Waldorf Dolls – A Labor of Love
For some reason, I got a bee in my bonnet about making the kids Waldorf Dolls. Since there’s nothing in the world that I hate more than bees, I had to get that thing out of my bonnet. Therefore, I proceeded with all haste to acquire supplies for these incredibly intimidating things and get to work. Of course, with Valentine’s Day only a couple of weeks away from my original urge to create, I put into place a completely unnecessary and extreme timeline for getting them done. Plus, I hate having projects hanging over my head (or buzzing near my ears) so Valentine gifts were as good a motivator as anything.
Having no idea where to begin, I turned to the internets. Via Pinterest (pin 1, 2, & 3), I determined that I could make this happen. But, then, thanks again to the internet, I found that it’s absolutely impossible to buy products in stores anymore. I did manage to find a source for wool bat (bizzaro sheets of carded wool that I’d never heard of before) locally, but had to order a kit for the other stuff from a Waldorf doll supply store online. That was ok, though, because I traced the sewn doll body I received and now I have a pattern!
Anyway, the hardest part about making these dolls is the head. So, after dinner on the day my stuff arrived, I got started. I followed a couple of great tutorials online, so the internet and I became friends again in spite of the way it had demolished craft supply stores.
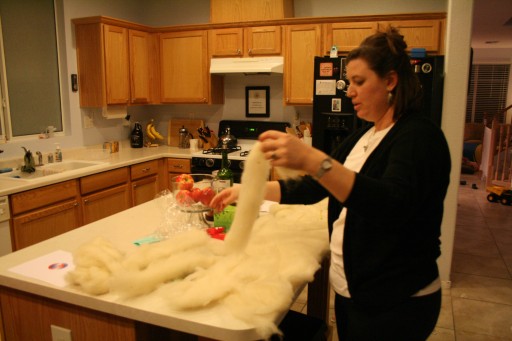
Once you’re done rolling and stuffing and stitching, the head looks something like this.
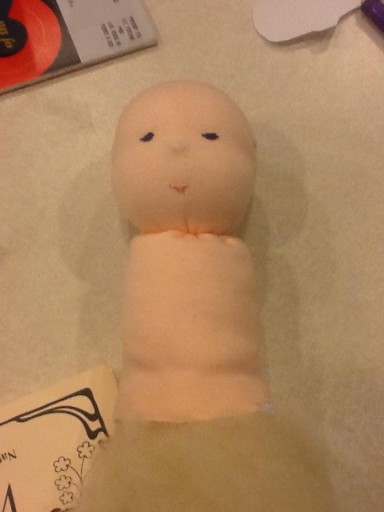
Since I had purchased pre-sewn bodies, all of the sewing I did on these dolls was by hand. So, after some more stuffing and stitching, I ended up with a nakey, bald Waldorf baby looking like this:
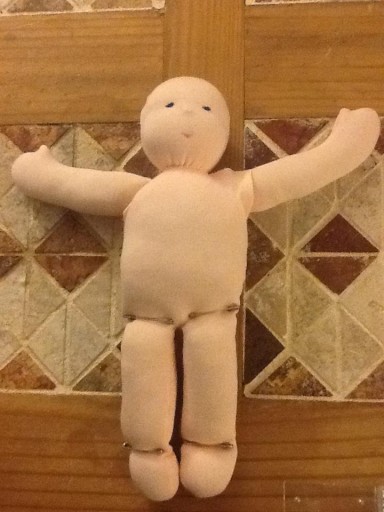
Of course, that’s when the Facebook comments about voodoo dolls started rolling in. Not one to be deterred, I moved on to the next most intimidating part of this project, the hair! I found a couple of great tutorials online and used two different ones – one for the boy’s hair and one for the girl’s. Without a doubt, the tutorial for the boy’s hair was better and it’s the one I’ll use if I ever make another doll (even if it did take me four hours to complete). Noah’s doll’s hair is about fifteen kinds of awesome whereas Ava’s often suffers from a “balding baby” look. Noah’s doll turned out better overall, but I spent longer on it and was more careful since I did it first. I also ended up having to make the dolls’ clothes because I couldn’t find any simple clothing for dolls this size to buy. So, the dolls and kids all got new pajama pants to wear, which was a fun exercise anyway (Noah got three new pairs!). I still need some practice and they’re not perfect, but these were fun to make.
![IMG_0176[1]](http://mscaspers.net/ohbladi/wp-content/uploads/2012/03/IMG_01761-e1331234054981-512x384.jpg)
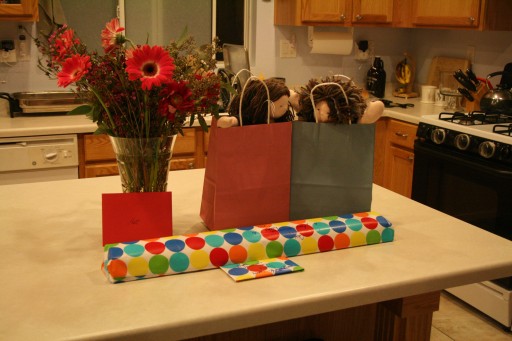
10 days after I started working on them, it was time for these little friends to be gifted to their new owners!
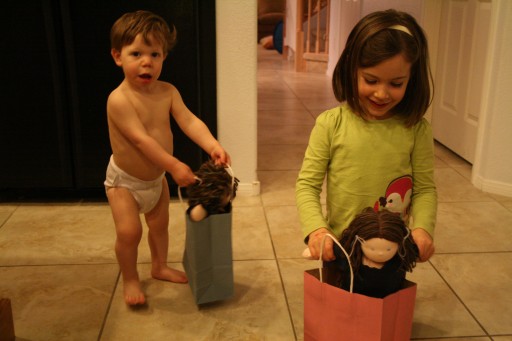
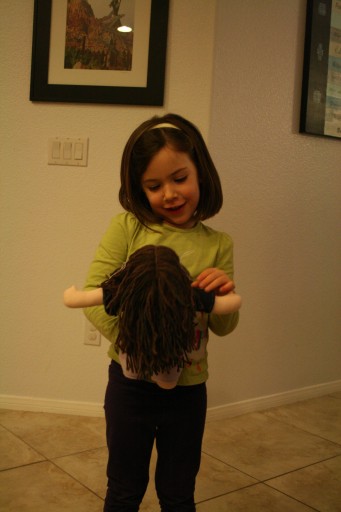
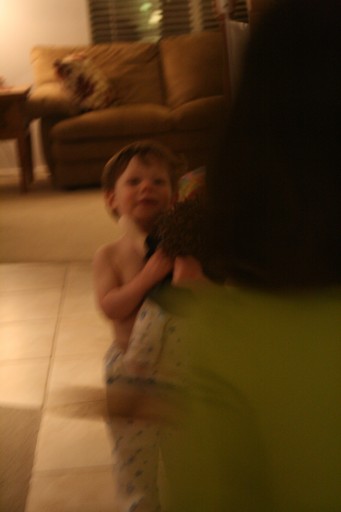
Big sister got in the way and it’s blurry, but that’s the sweetest baby boy hug ever for his new buddy.
And, here they are all dressed to match!
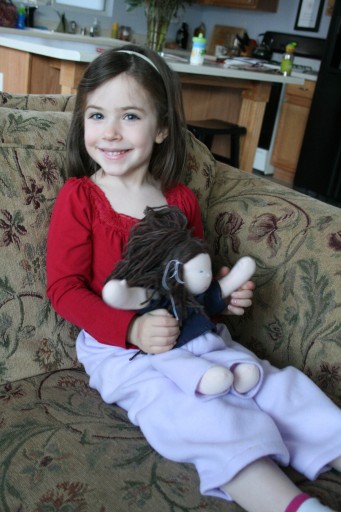
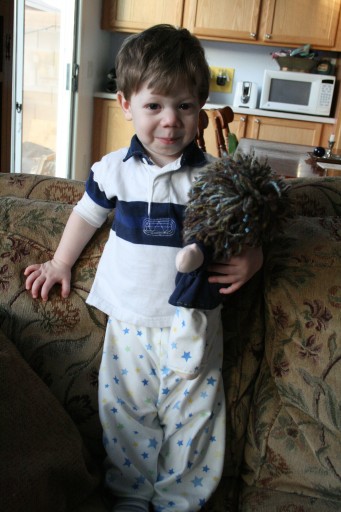
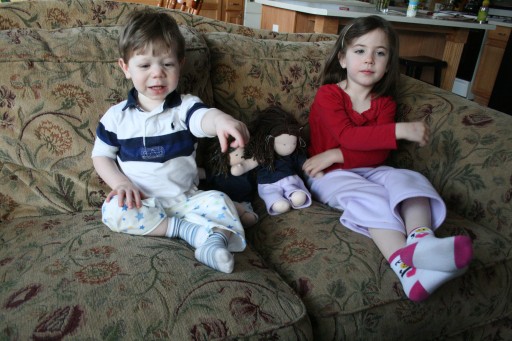
Neither doll has a name really (Ava calls hers “Ava” and Noah calls his “Baby”) but both get lots of love. Noah’s baby comes in the van every day to school and Ava sleeps with hers every night.
I’m so glad I got to make them something to love and pick up some new skills in the process. These dolls are proof that you don’t have to be perfect to be well-loved!